Saturday, 31 May 2014
Hand-stitched Napkins
I bought this fabric planning to make cloth napkins using my sewing machine, but when I saw the hand-stitched napkins from the Purl Bee, I changed my mind. I like projects that I take with me while I am commuting or travelling, which I was able to do with this project. I loved the effect embroidery thread added to the napkin, which would not have been the same using a sewing machine. In addition, I had some random strands of embroidery thread which I was able to use up in this project.
Monday, 19 May 2014
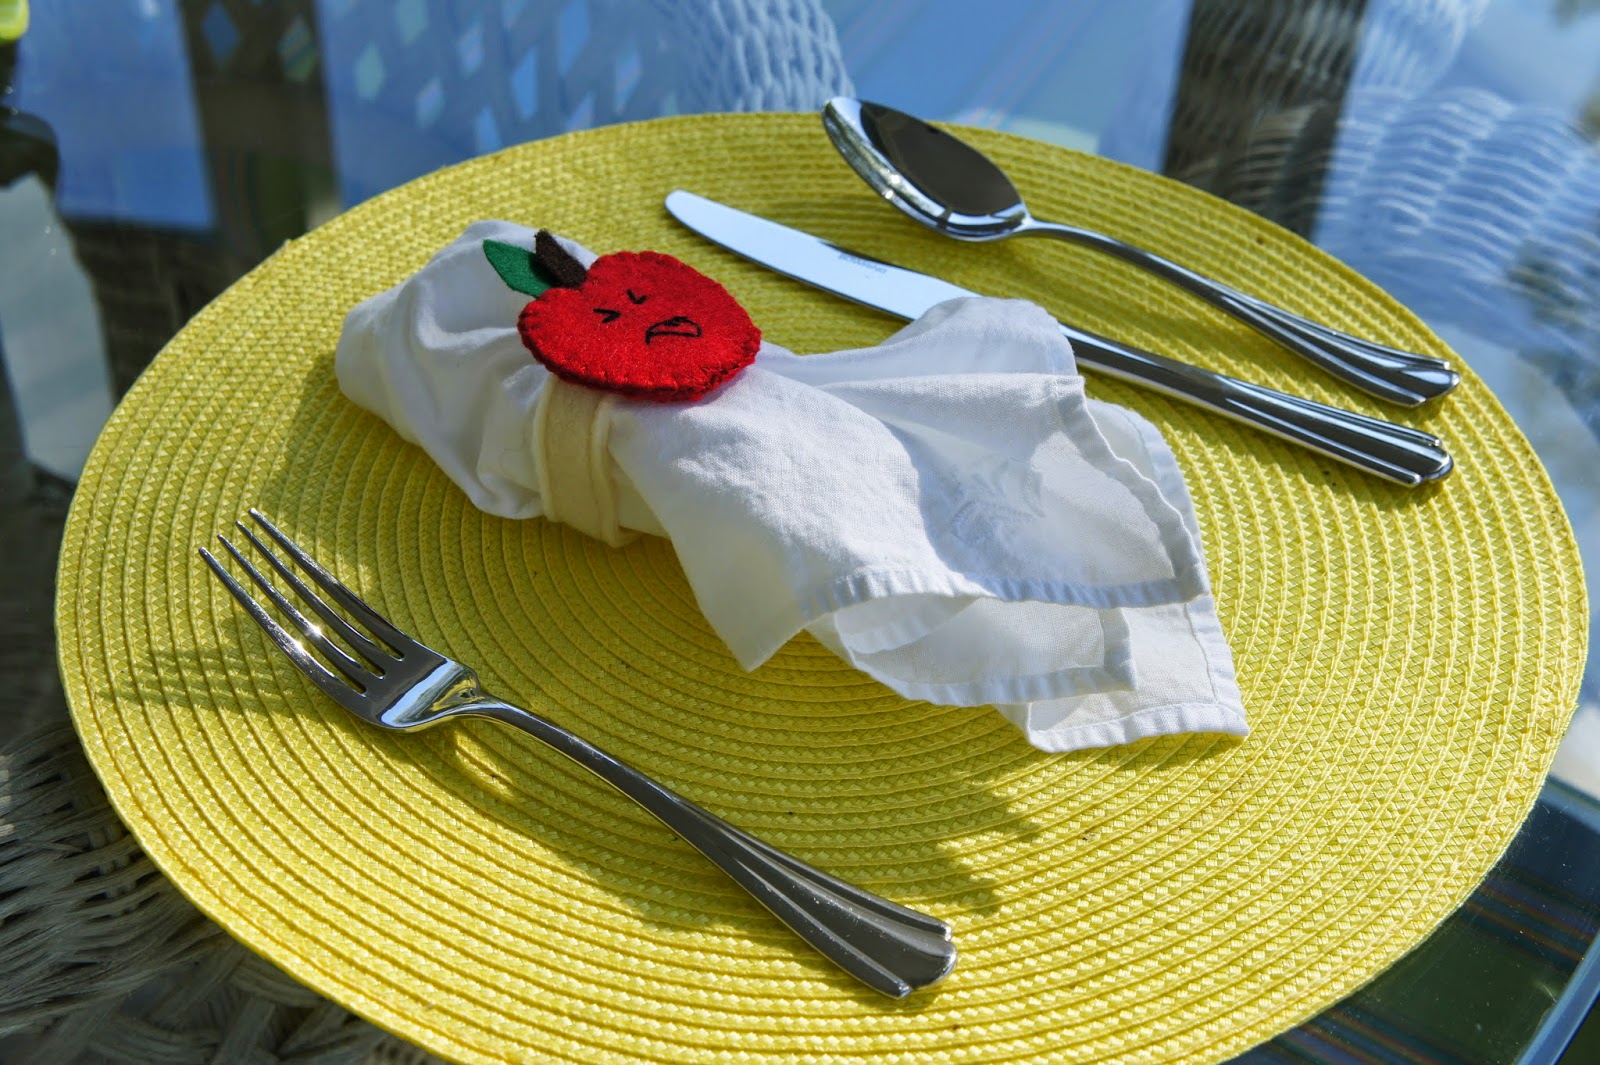
Apple Faces Felt Napkin Rings
When I was living in Montreal, I stumbled upon a cute, little yarn store. While I was inside browsing, I found these unique embroidery kits by Sublime Stitching. I had never seen patterns likes these before and on the packaging it read "This ain't your gramma's embroidery"!
One package had a variety of fruit and funny faces. It was possible to mix and match the faces with the different fruit. For these napkin rings I used the apple fruit template along and all of the faces.
Here is how you can make them:
One package had a variety of fruit and funny faces. It was possible to mix and match the faces with the different fruit. For these napkin rings I used the apple fruit template along and all of the faces.
Here is how you can make them:
- Trace 2 apple templates per ring on a red piece of felt from the embroidery package by Sublime Stitching
- Trace 1 small leaf per ring on a green piece of felt (I used a leaf template I found online, or you can draw one free hand)
- Trace 1 stem per ring on a brown piece of felt (I used a stem template I found online, or you can draw one free hand)
- Iron a face template cut out from the embroidery package by Sublime Stitching onto 1 of the 2 apples cut from the red felt
- Embroider the face with black embroider floss
- To make the apple more sturdy, cut out a piece of cardboard a bit smaller than the apple template and place it in the middle of the two felt apple pieces
- Sew a blanket stitch with red embroider floss to join the two apple pieces with the cardboard in the middle and to secure the leaf and steam
- To make the ring, cut out two pieces of cream coloured felt 1" by 6" and sew along both edges using the sewing machine
- Overlap the ends about 1 inch and glue them together with a glue gun
- Glue the apple on top of where you glued the ends together so it will be hidden
Sunday, 30 March 2014
Striped Monkeys
For these monkeys I followed the pattern for the Striped
Monkey in the book by Sue Havens called "Make Your Own Toys".
I used a sweater
that was given to me from a colleague, scrap flannel and men’s dress shirts. I
tried to use fabrics that had a striped pattern.
Body – Knitted sweater (for one I used fleece)
Head – Flannel
Ears, Arms and Tail – Men’s dress shirts, flannel and cotton
Face - Cotton
Patches – Flannel, fleece, cotton and men’s dress shirts
Eye Patch – White felt
Eyes - Black or dark blue buttons
Mouth and Nose – Embroidery thread
I used the sewing machine to stich the ears, arms and head. It is
better to sew the knitted materials by hand, which I did for the body. I sewed the
face on using a zigzag stitch and attached the ears while sewing the head.
I stuffed the moneys with stuffing an old pillow and
some polyester batting.
These monkeys were a great way to use up old clothes. The
patches and the tail give the moneys a finishing touch.
Sunday, 22 December 2013
Knitted Placemats with Crocheted Border
I chose to make placemats because I had one color of cotton
yarn that I wanted to use up. I also wanted to try a new pattern called Basket Weave.
When I finished my first placemat, I felt it needed some sort of border. I
decided to crochet a border even though I had never crocheted before. It turned out
really nice and it was simple to do. So, if you would really like to make these
placemats, don’t let the crocheted part stop you. Here is a link to a tutorial on
YouTube: http://www.youtube.com/watch?v=yEhvHkBxYhU
My placemats have 54 stiches, which is 27 pairs. Depending
on the amount of pairs you have on your needle, this will determine which
pattern you will follow. I used small
needles to make a tighter placemat, but if you want a looser weave, choose a
larger needle.
K= Knit
P= Pearl
Basket Weave – Uneven Pair
Cased on an uneven amount of pairs of stitches
Row 1: K2 P2 to end of row
Row 2: P2 K2 to end of row
Row 3: K to end
Row 4: P to end
Row 5: P2 K2 to end of row
Row 6: K2 P2 to end of row
Row 7: K to end
Row 8: P to end
Basket Weave – Even Pair
Cased on an even amount of pairs of stitches
Row 1: K2 P2 to end of row
Row 2: K2 P2 to end of row
Row 3: K to end
Row 4: P to end
Row 5: P2 K2 to end of row
Row 6: P2 K2 to end of row
Row 7: K to end
Row 8: P to end
Saturday, 21 September 2013
Wedding Favor - Homemade Laundry Soap
This summer I married the love of my life. For our wedding favors I wanted to make something that was a reflection of me (not so much him, but he was okay with that) and that was handmade. My favourite household chore is doing the laundry and hanging the clothes on the line. I love the smell of the fresh outdoors when I bring my clothes inside the house. At the start of the New Year I started making my own laundry soap to save money. This got me thinking and I decided to tie together the idea of a clothes line and laundry soap. I tried a few variations and with the help of my mother (she suggested the fabric under the lid) I came up with this:
Photo by Emile Olsen.
If you would like to make these jars, this is what you will need:
Photo by Emile Olsen.
1 litre Mason jars
Jute twine (heavy duty)
Ribbon
Cotton fabric (light weight)
Thick paper (brown or colour of your choice)
Marker or pen
1" clothes pins
Felt (assortment of colours)
Images of different items of clothing (see below)
Scissors
Pinking shears
Preparation:
1) Glue the clothing item templates onto a durable surface such as cardboard and then cut out. See below.
2) Trace the clothing item templates onto the felt and cut out. For each item of clothing use the same colour.
3) Use inner lid of the Mason jar to trace circles on the brown paper and the cut out.
5) Write the name of each guest or couple on a circle.
6) Cut pieces of twine that are long enough to tie around the Mason jar and to tie a knot.
7) Trace large circles on the cotton fabric. They should be large enough that they create a frill of about two inches. Cut out using the pinking shears.
8) Cut pieces of ribbon long enough to tie around the lid of the jar with a bow.
9) Make the laundry soap. You can find the recipe in my blog post titled : DIY Laundry Soap.
Assembly:
1) Pin the clothes to the twine using the clothes pins.
2) Tie the clothes line around the jar tightly with the know in back of the jar.
3) Fill the jar with the laundry soap.
4) Place the inner lid on the jar with the fabric centered over top.
5) Place the piece of paper on top of the fabric.
6) Screw the outer lid over the lid, paper and fabric tightly.
7) Tie the ribbon making a bow.
I had a little ornament I bought from Michael's that I strung onto the ribbon, but it would look just as nice without it. I couldn't find the clothes pins at any of my local craft stores, so I ordered them on Etsy. These jars were a lot of work and luckily my maid of honour was there to help me.
Clothing item templates:
Sunday, 15 September 2013
Sweatshirt Bears
My husband had a few sweatshirts that he no longer wore and I just couldn't throw them out, just like many of our clothes that get stained or damaged, I save them for crafty projects. I saw this pattern for a bear made from a sock in the book "Sew Me Love Me" by Hsiu-Lan Kuei, and I thought the fuzzy fleece inside the sweaters could work well for the fur for the bear. I enlarged the pattern for the bear and the pyjamas and constructed the bears by hand, even the clothes. It was time consuming, but I found it easier to manipulate this type of fabric by hand rather than with the sewing machine.
The pink bear in the middle I made using the sewing machine and decided to use fabric yo-yos for the arms and legs. The body is actually made from flannel and not sweatshirt material.
I would highly recommend this book because the patterns are easy to follow which is great for those making stuffed toys for the first time or for novice sewers.
The pink bear in the middle I made using the sewing machine and decided to use fabric yo-yos for the arms and legs. The body is actually made from flannel and not sweatshirt material.
Sunday, 14 July 2013
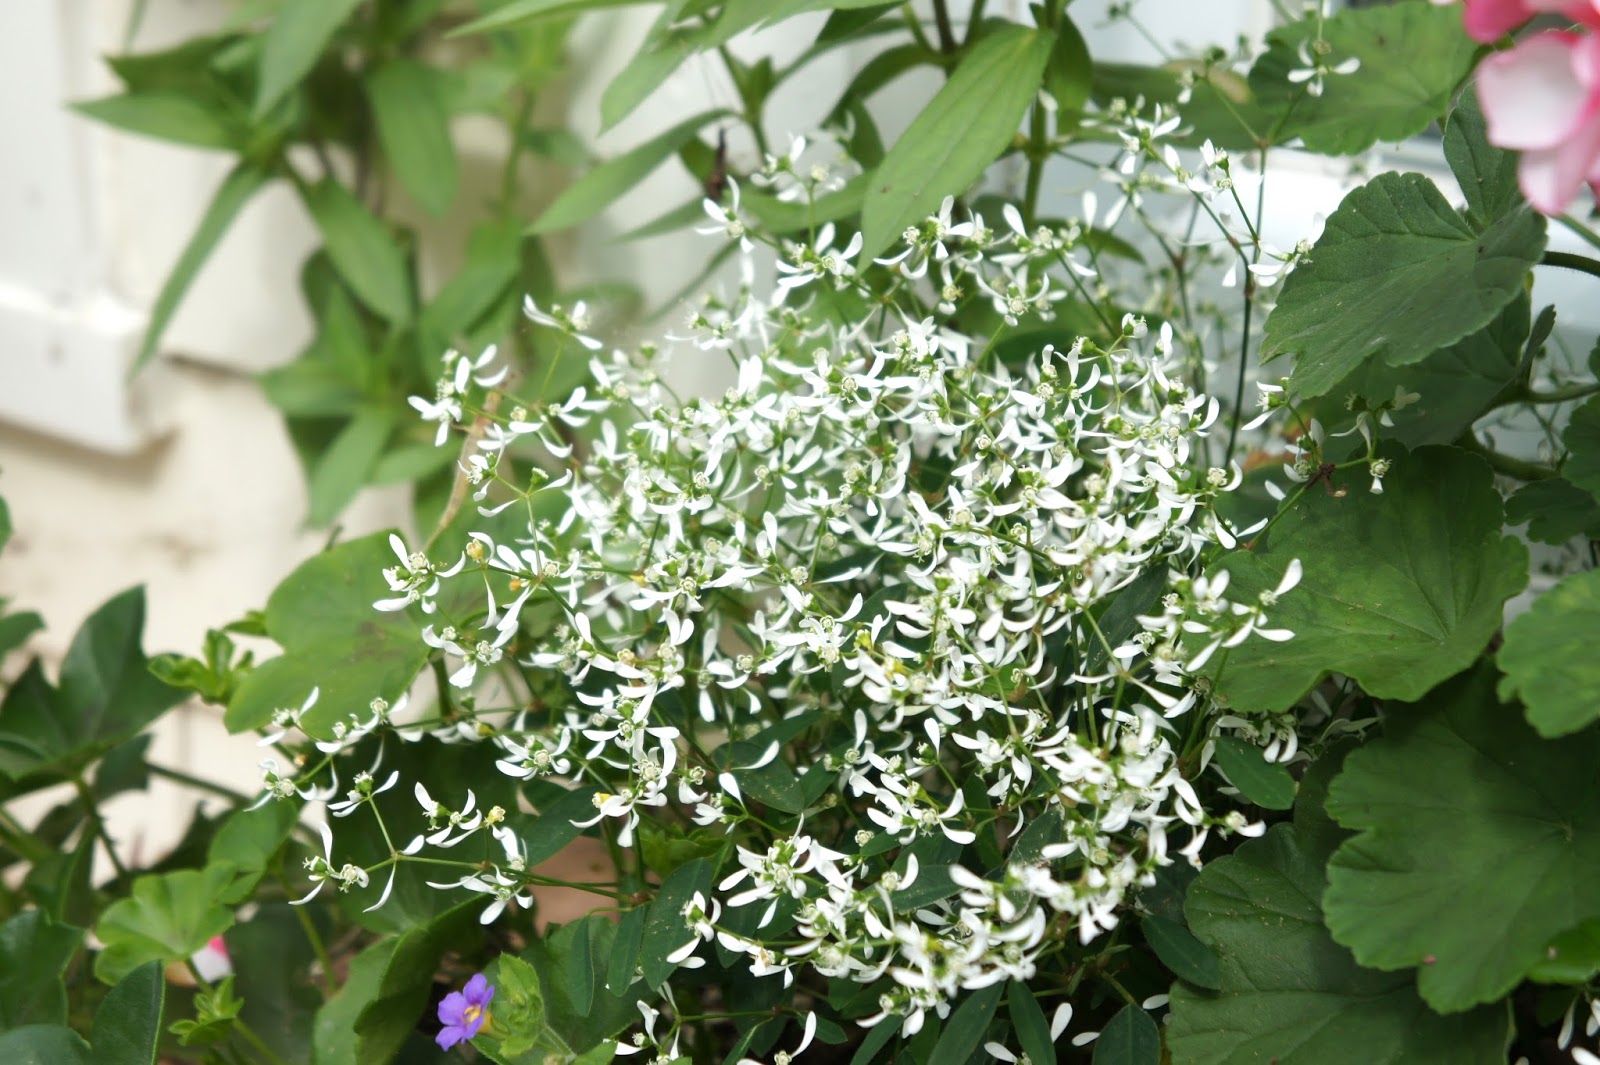
Romantic Flower Boxes
Flower boxes bring a house to life, while adding colour and warmth.
Tips:
-Change soil every year
-Use soil specifically for containers
-Choose the prettiest flowers you can find
-Select a range of colours from deep purple to white or light pink
-Make sure all the flowers have the same requirements for sunlight
-Have one flower as a centre piece or focal point
-Fertilize and water regularly
-Trim off the dead blooms and leaves
Flowers:
Geranium
Mandaville
Bircopa (small purple with yellow centre)
Euphorbe
Zinna
Subscribe to:
Posts (Atom)