Sunday 9 October 2016

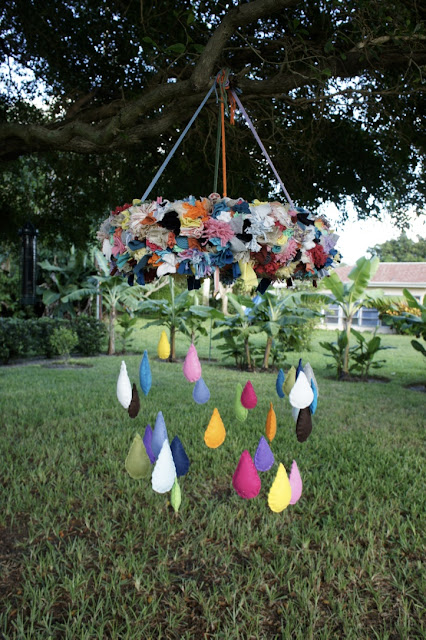
Fabric Scrap Cloud with Raindrops Mobile

This fabric scrap mobile was a fun way to use some of my old t-shirts and cotton yarn. 


I was inspired by this awesome paper cloud mobile I came across on Pinterest.


I used a straw wreath as the base of the wreath. I then tied strips of fabric from old t-shirts around it. I used small squares of t-shirt fabric, cotton yarn and some woven fabric to complete the cloud.


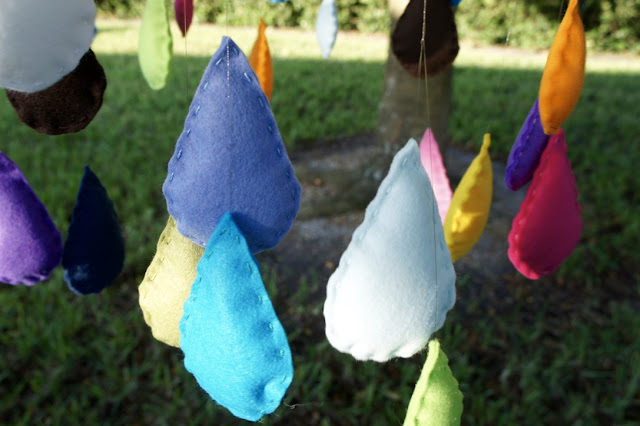
The cut two pieces of felt for the raindrops. I stuffed them slightly with quilt batting and sewed them together with a running stitch using embroidery thread.


Saturday 19 March 2016

Yarn Christmas Trees with Handmade Stars

For these yarn trees, I followed the tutorial from Pretty-Ditty: http://pretty-ditty.blogspot.com/2009/12/yarn-christmas-trees-tutorial.html.

Once I made the stars, I sprayed them with spray adhesive and dipped them in glitter. I then sprayed them with glitter spray. Modge Podge would also work to make the glitter stick to the stars.

Instead of using a bird nest on top of one of the trees, I found a figurine at Jo-Anne's which I thought matched nicely.

I decorated the trees with small styrofoam balls that are usually sold on circular vines at Jo-Anne's.

This project is a great way to use up some of your scrap yarn. I used a three small balls of yarn leftover from other projects.


Sunday 6 December 2015

DIY Decorative Tree for All Seasons

I decided to make a DIY tree to display my Christmas Tree YoYo Ornaments for my first craft fair in America. In the past, I have not put as much effort as I should have in my display, because I was always focused on making more items to sell. This year, I was determined to make something special for my display.

When I was in Hudson, Quebec during the summer, I went shopping at my favourite store, Facade. I had been there many times, but during this shopping trip, I noticed the decorative tree displayed in the store. 

During the summer it was decorated with a flower garland consisting of a variety of colours, however when I returned in September, I snapped a few pictures of the tree which was decorated for the Fall season.


Once I retuned to home to Florida, I had to think about how I was going to make this tree. I had some white wire hangers I knew I could use for the branches. I was sure I would need to buy a wooden dowel for the trunk, but I wasn't sure how I was going to make the base of the tree.

My husband and I went to Home Depot and we asked an associate at the store for their opinion about the best way to make secure the base of the tree. He suggested concrete and we thought this idea made sense, so we bought a bag of concrete and a wooden dowel.

I had already bought a white, metal container at JoAnnes which worked fine to hold the concrete. We poured the concreted in the container as well as the water, following the directions on the bag. We placed the dowel in the concrete and held it there until the concrete thickened. We let it dry for about 36 hours, just to make sure it was completely dry.

I painted the dowel with white paint once the concrete was dry.

Then, my husband drilled some holes in the dowel, big enough to fit three wire hangers. He made sure to drill the holes in different directions so that some branches were facing forward and some to the side. We only drilled three holes, but we could have done more.

I arranged the wire branches, bending them into shape. 

At JoAnne's, I bought a garland with tiny bells as well as garland with white, glossy styrofoam balls. I wrapped pieces for the garlands around the wire branches using white stem wrap tape. This was the most time consuming part of the project.

For the top of the tree I decided to put a star because my Christmas Tree YoYo ornaments were for Christmas. The star can be replaced with an ornament that can rest on a metal wire. My husband drilled a small hole in the top of the dowel and in the hole he secured a small piece of the wire from the hanger. I was then able to poke the wire through the decoration so it stayed in place at the top of the tree.

I made a garland from small balls of fabric and beads. The other garlands I purchased at JoAnnes. 

For the base, I wanted something other than just a white, metal container, so when I was at JoAnnes, I saw a canvas container and thought it was perfect. I then bought some straw to cover the concrete and decorative bird to nestle at the base of the tree.


Just like at Facade, this tree can be decorated for each season. I was glad my husband was able to help me. I am sure if I had to use the drill myself, I would have figured it out. For now, I will stick with my sewing machine and glue gun.






Wednesday 6 May 2015

Upcycled & Knitted Coasters

Coasters are a great project to use up scrap yarn and fabric. What is fun with a set of coasters is that each one can be unique. These coasters remind me of Summer, enjoying a cup of coffee early in the morning on the porch, or a glass of wine while watching the sun set on the beach.

T-Shirt Braided Coaster
I had quite a few white t-shirts that were either ripped or stained and I did not want to throw them out. There are many projects you can make using old t-shirts, but I chose to make braided coasters. Once I made the t-shirt yarn (there are many tutorials available on the web) I incorporated some cotton yarn into the braid to add some colour and use up my odds and ends. I sewed the braid using a slip stitch in order to form a circle.  To finish the bottom, which is not necessary, but I thought it would look nice, I glued some felt on the bottom just a tad smaller than the diameter of the coaster. These coaters are quite thick, great for large glasses like beer mugs or ice water that have a lot of condensation.


Knitted Coaster with Crocheted Border
What I love about these coasters is that I mixed and matched the yarn. I doubled up on the yarn using a seed stitch and then crocheted a border. Since these coasters are knitted, there are some small holes, but because the yarn is doubled, this provides enough protection from heat from drinks such as coffee or tea. These coasters are not as thick as the braided coasters, but they are flatter, which is good for wine glasses. For the braided coasters you will need a sturdy glass or mug. 


Embroidered Coaster
The fabric that I used for these coasters was from a duvet cover that was faded by the sun. The fabric was expensive so I could not see it go to waste, or just sit in the closet, plus I loved the palm tree pattern. For the sections that weren't faded I was able to make decorative pillows. Since the fabric pattern had enough spacing between the palm trees, I was able to fit  one palm tree on each coaster. The duvet cover was custom made with three layers, just like a quilt which added extra thickness, perfect for a coaster or pot holder. I wanted the palm tree to stand out, so I embroidered an outline stitch around it. For the bottom of the coasters, I cut some matching fabric the same size as the top square. I actually used some fabric from the bed skirt which had also been faded by the sun. I placed the squares right sides facing, sewed around the square leaving an opening to turn it inside out and then closed the opening using a slip stitch. 


Saturday 19 July 2014

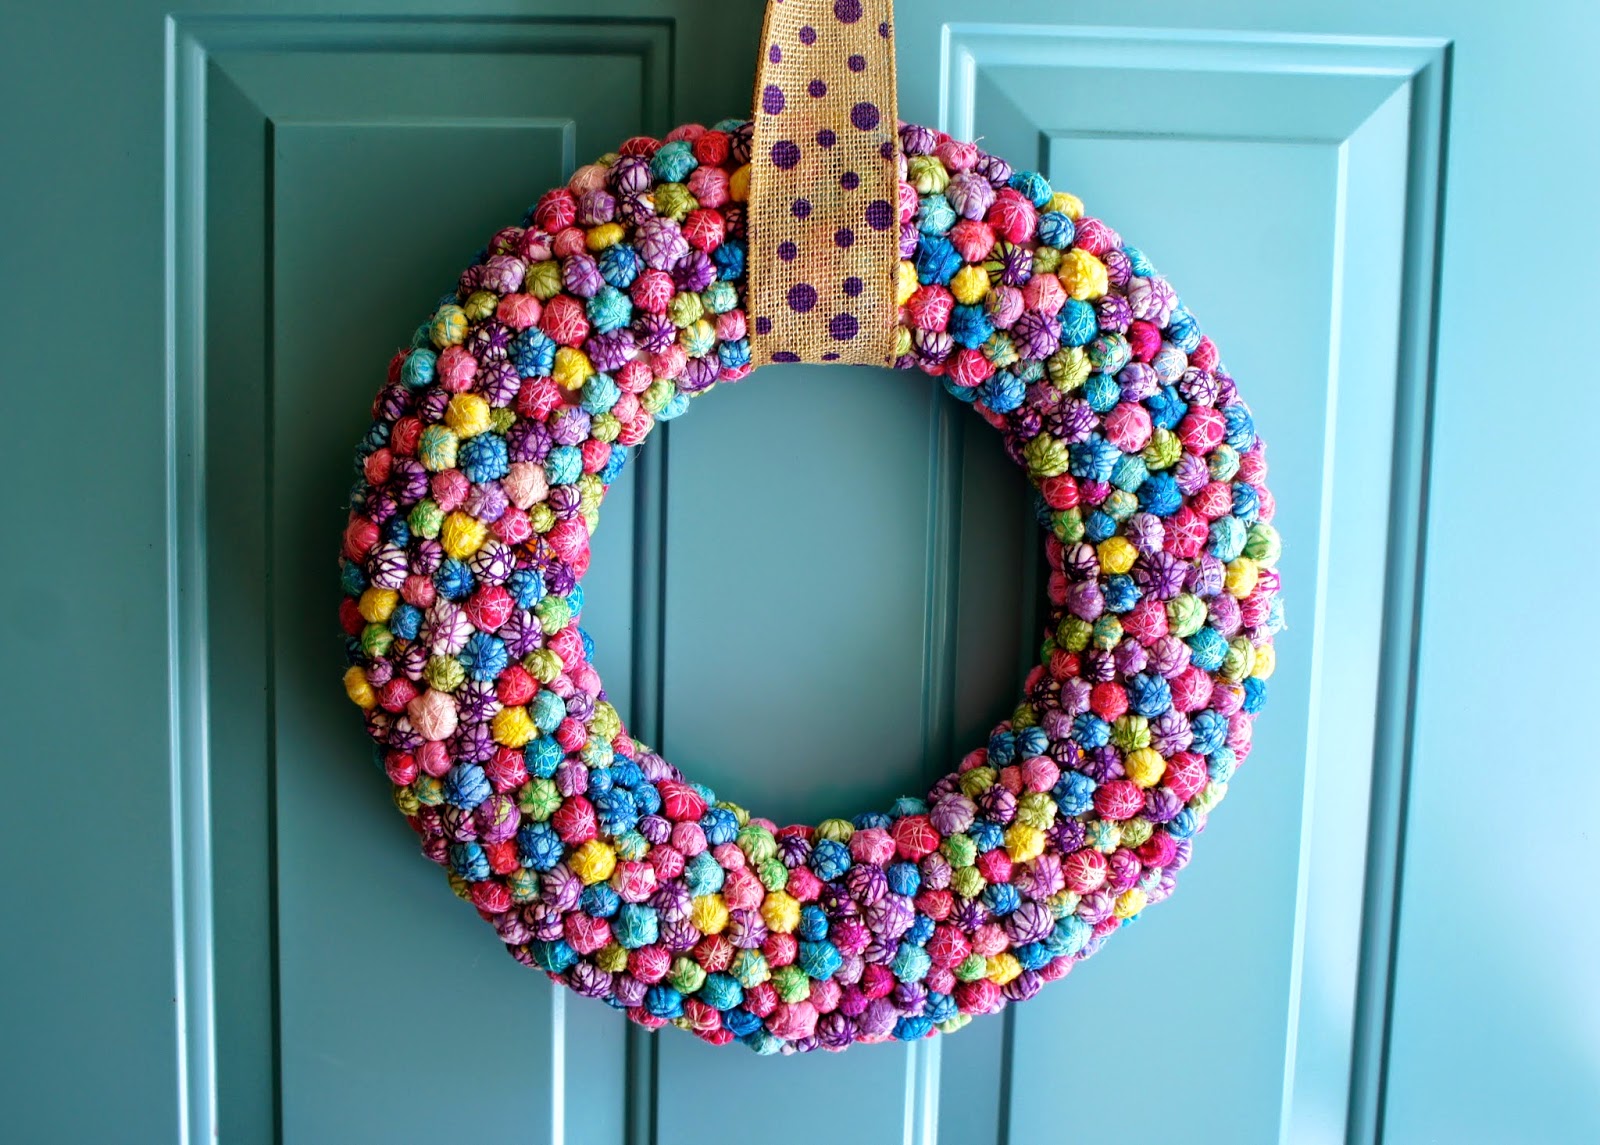
Colourful Wreath with Little Balls of Fabric

While making my first rag quilt, I kept all the of the scraps. I didn't want to throw away any leftover fabric just in case I could use them for a future project. I searched online for some ideas and I saw you could make little balls of fabric using your scraps. I had some embroidery thread I wanted to use up so I decided to go with making some fabric balls.

I rolled up my flannel scraps into balls about an inch in diameter. I inserted my needle just under where the fabric ended to hide the knot and started wrapping the thread around the ball by weaving through the fabric. Once I had wrapped enough thread around the ball, I inserted the needle completely through the ball to the other side and the stitched a couple back stitches to secure the thread.

As I was making these balls, I wasn't sure what I was going to do with them. I could make a necklace or a mobile, or just display them in a glass vase. I kept the little balls for a few years and finally I decided to make a wreath.

When my husband and I were renovating our kitchen, I asked our wonderful handyman to cut out a few circles from plywood that I could use as a frame for a wreath. I used one for this wreath. 

I cut out long strips of flannel and washed the strips to give them a ragged effect. I placed a layer of batting on the front side of the frame and then wrapped the frame with the fabric strips. I pinned the flower to the wreath and then I then glued all the balls onto the wreath using hot glue. Once I finished securing all of the balls, I glued the knitted flower. I had tried knitting a few flowers for fun and this one matched so I decided to use it. The light pink flower on top of the knitted flower is actually a hair piece, but I had bought it to use as a decoration in a wreath one day. Since it had a clip, I just clipped it to the knitted flower. I think the two flowers make a pretty combination and match perfectly with the fabric balls.


Tuesday 15 July 2014

Starfish Pillow

I was inspired to make this Starfish pillow when I saw the Heart Wall Hanging project in the book "Inspirational Ideas - 200 Easy-To-Make Pretty Gifts For The Home". The wall hanging used the same fabric that I already had in my stash, so instead of hearts which were appliquéd on each square, I thought Starfish would be fun. Plus, I wanted to use up my embroidery thread. 

I searched online for a drawing of a starfish and found one I liked. I traced each starfish on a large piece of fabric so I could secure it in the embroidery hoop. Once I embroidered all the starfish, I cut out the blocks and sewed them together. Initially I was going to make a wall hanging, but decided to make a decorative pillow with piping and an envelope closure.


I chose to use the backstitch for the outline of the starfish and french knots for the spine (I am not sure if the small dots represent the spine or the skin).


Below is the starfish drawing I found online.


Saturday 31 May 2014

Hand-stitched Napkins

I bought this fabric planning to make cloth napkins using my sewing machine, but when I saw the hand-stitched napkins from the Purl Bee, I changed my mind. I like projects that I take with me while I am commuting or travelling, which I was able to do with this project. I loved the effect embroidery thread added to the napkin, which would not have been the same using a sewing machine. In addition, I had some random strands of embroidery thread which I was able to use up in this project.